There are several ways in which our magnets can be used throughout a Warhammer collection, one of the creative and frequent ways we see our magnets utilized is when collectors magnetize their collection to be able to change the weaponry on their figures.
Using magnets can also allow you to swap figures weaponry and armor throughout a battle whilst complying with the rules of the game.
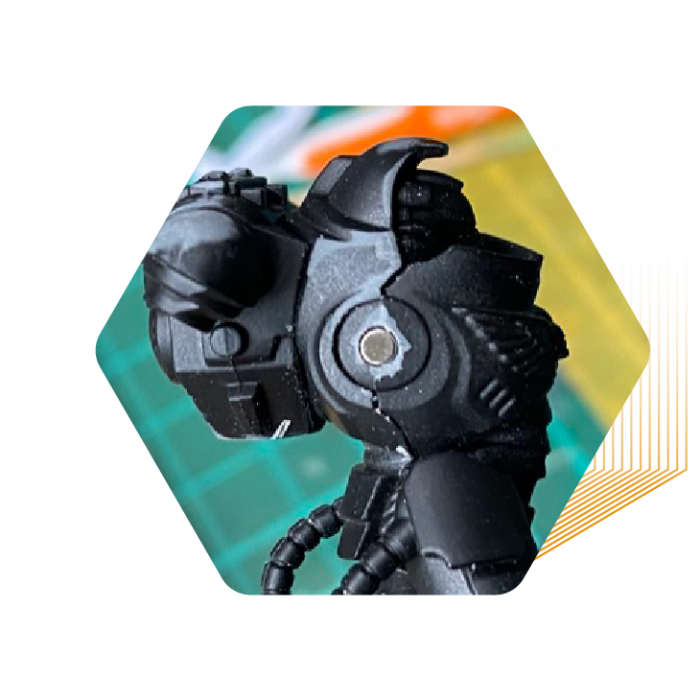
Using our 2mm dia x 1mm thick N35 Neodymium Magnets Des managed to enhance his Warhammer collection, these magnets sit perfectly on the models and are completely hidden when the model is used in battle mode.
Step One – Flatten off the joint and make two shallow cuts to mark the center of the joint.
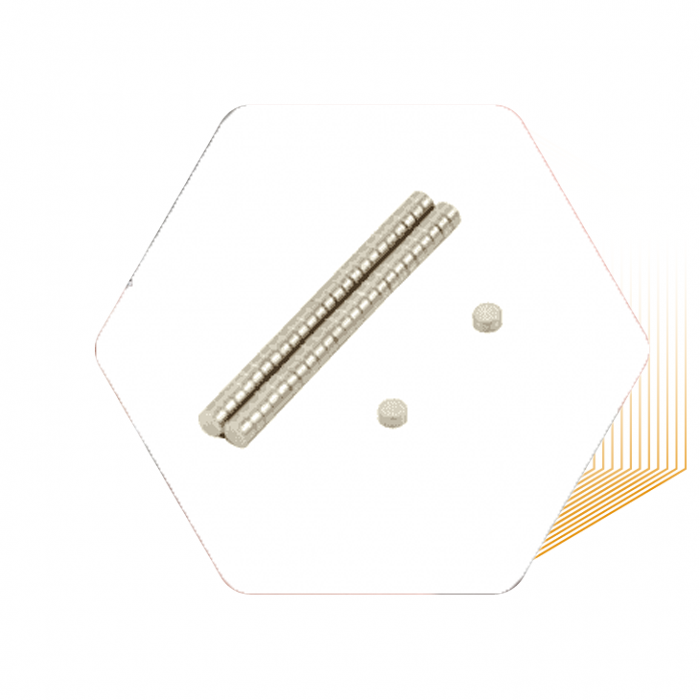
Step Two – You’ll need to be sure of the size of the magnet you require, however, a 2mm x 1mm or a 2mm x 2mm magnet is usually right.
Don’t forget to think about if the magnet is just holding something in place or load-bearing.
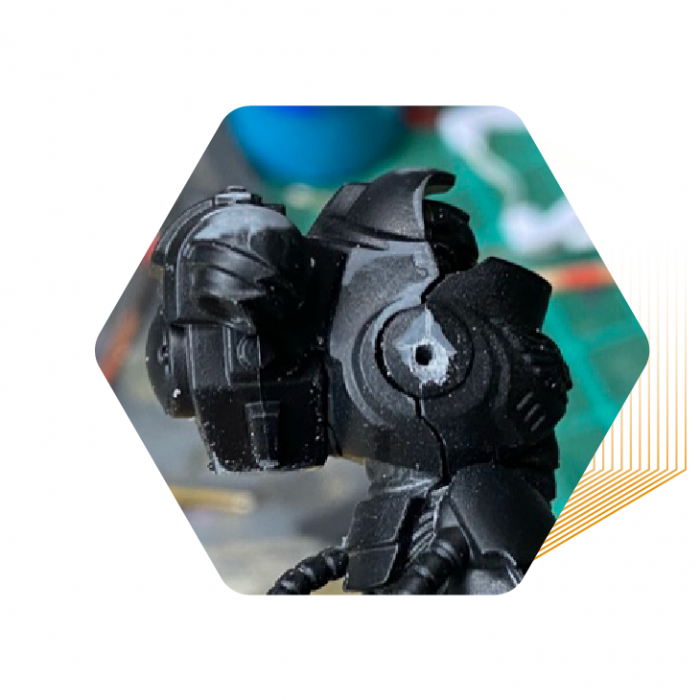
Step Three – Using a 1mm drill bit, drill a pilot hole in the center of the joint.
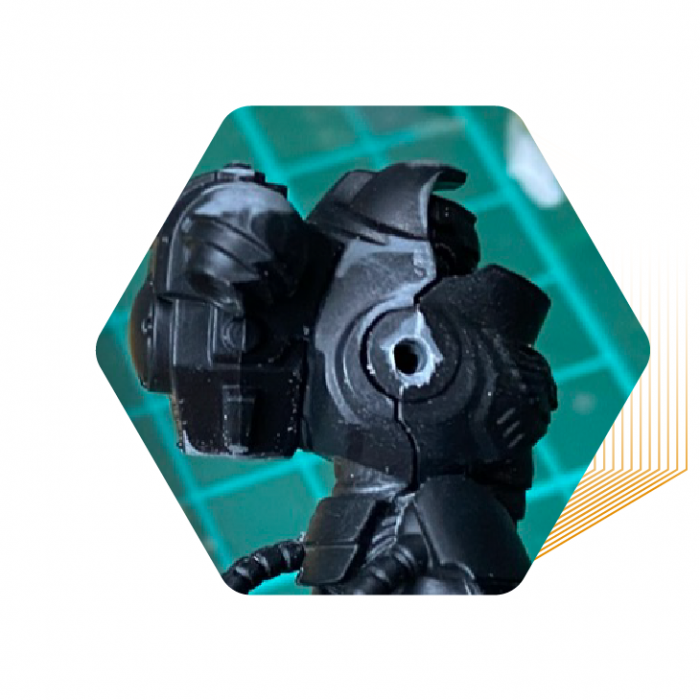
Step Four – Drill a final hole using a drill bit equal to the diameter of the magnet. For example, 2mm magnet = 2mm drill bit.
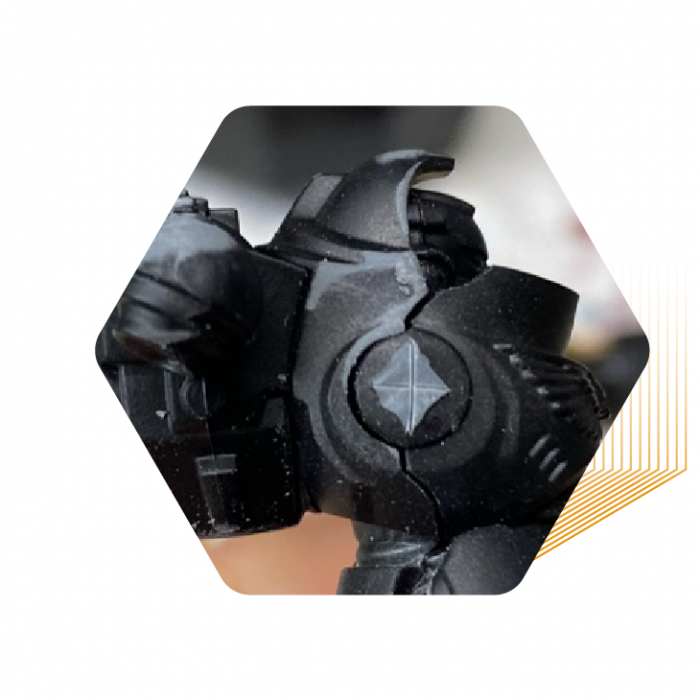
Step Five – Dry fit your magnet until it fits firmly in place if the fit is tight enough you may not require glue. Remember to secure your magnet so it sits flush with the edge of the hole.

Step Six – Add a small amount of superglue on to a disposable surface and dip the end of your magnet, before sliding it into the pre-drilled hole.

Step Seven – Leave the glue to dry, once the glue has dried ensure the connection maintains polarity.
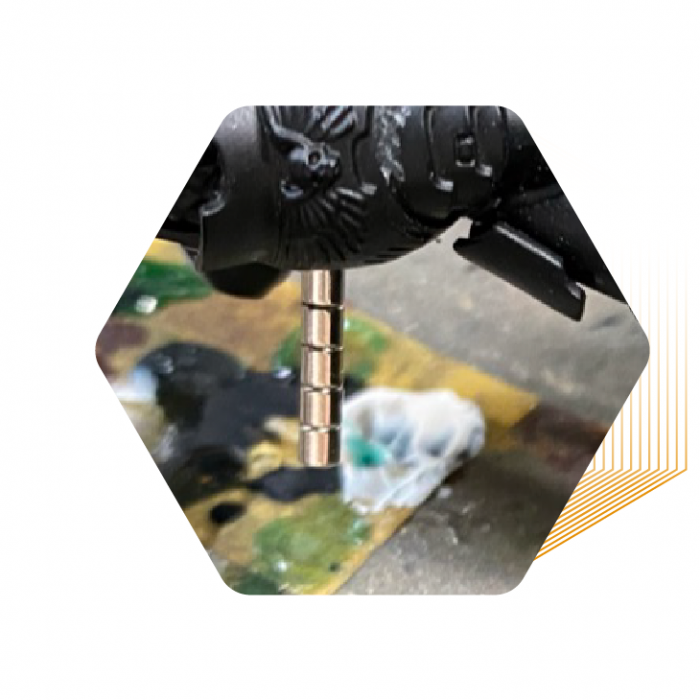
Step Eight – Finally, add a few magnets to ensure connections maintain polarity and dip the end of the magnet into a small amount of super glue.
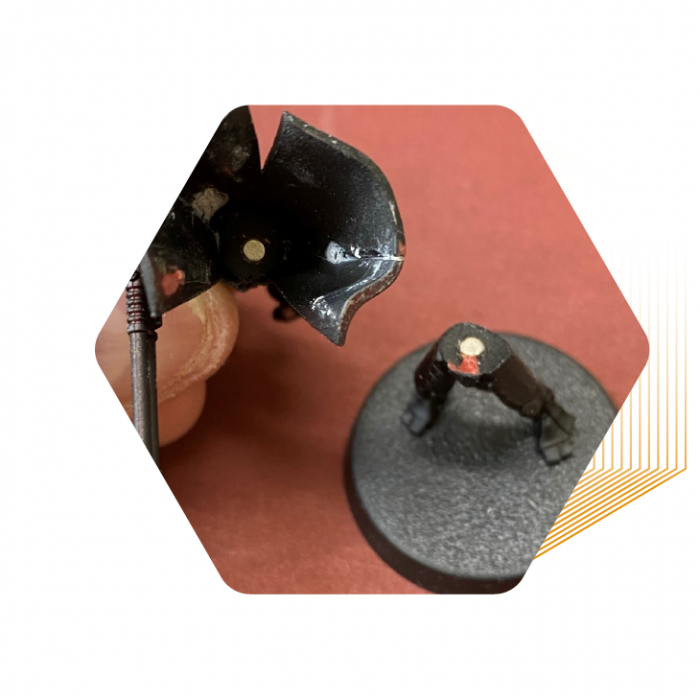
Using Magnets for Sub-assembly Painting
This method can also be used for sub-assembling figures, the only difference is placing the magnets on the joints of the parts which you are looking to detach for sub-assembly painting.