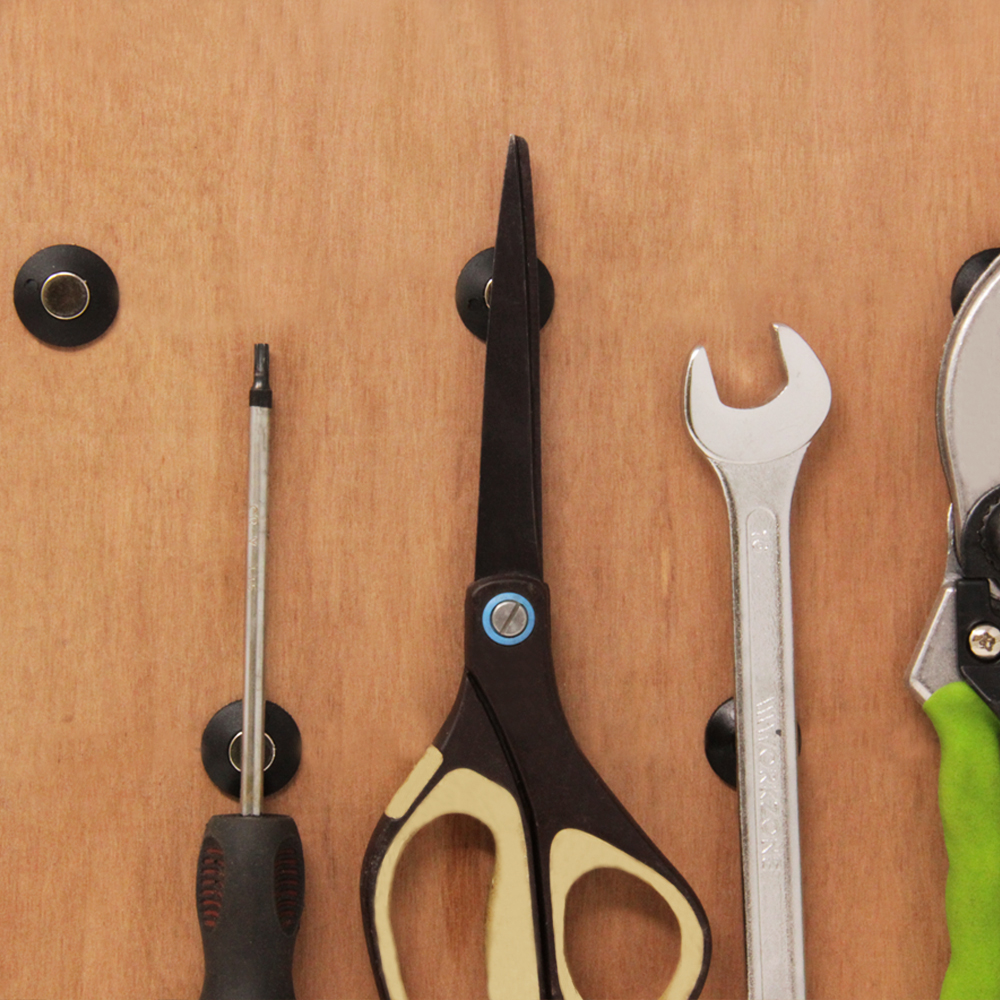
Magnetic wall pins provide the perfect solution for storing your tools and organising your shed. They are easy to install and securely hold a wide range of tools.
This blog will help guide the installation and provide you with easy-to-access tool storage.
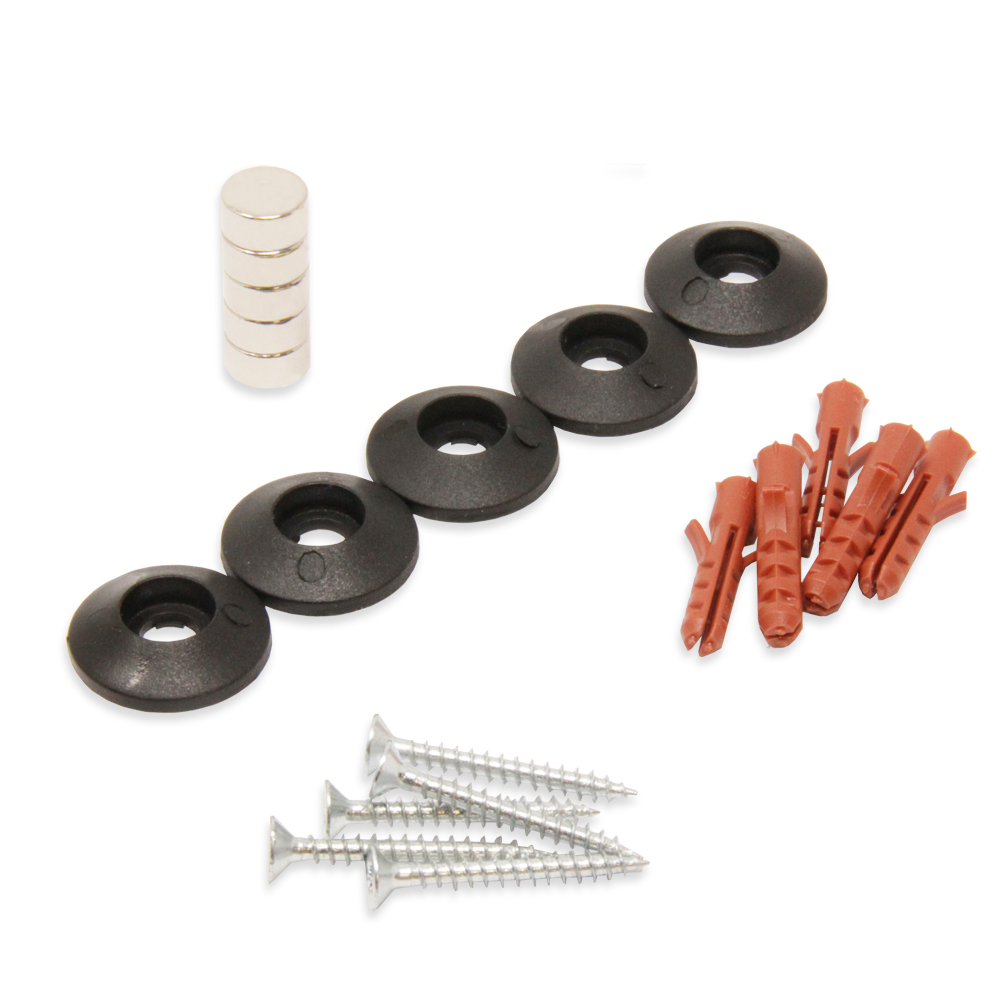
With your magnetic wall pin set, you will receive the following:
- 5x 10mm x 5mm Neodymium magnets
- 5x screws
- 5x plugs
- 5x plastic rosettes
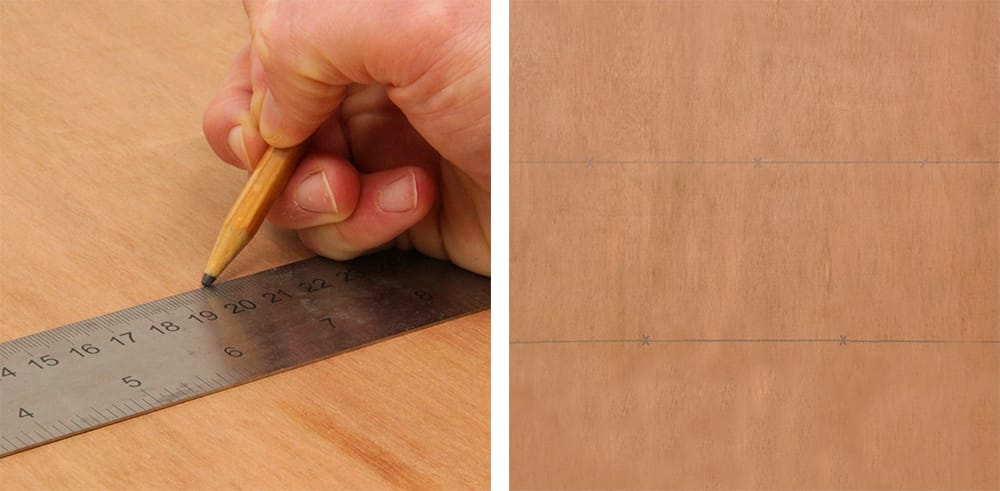
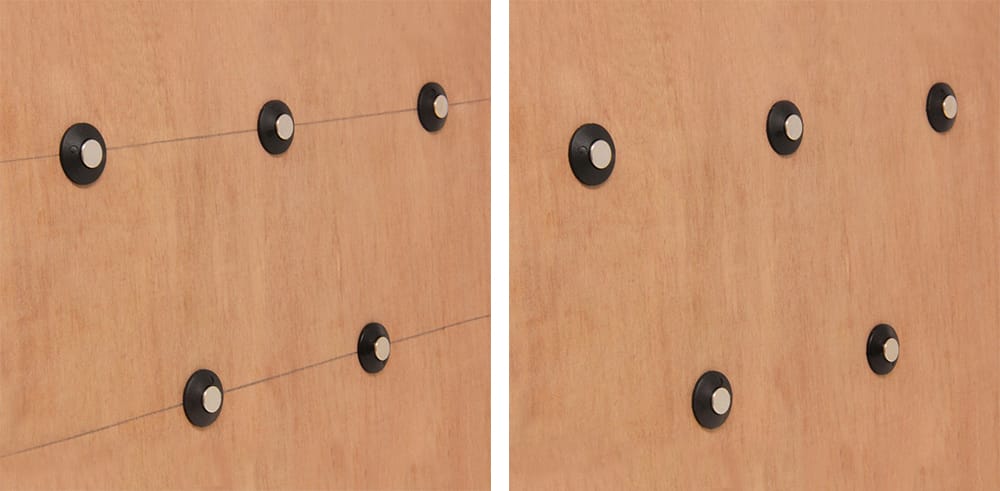
Step 1 – Mark out drill holes
Using a ruler and pencil, mark out your drill holes in your desired locations.
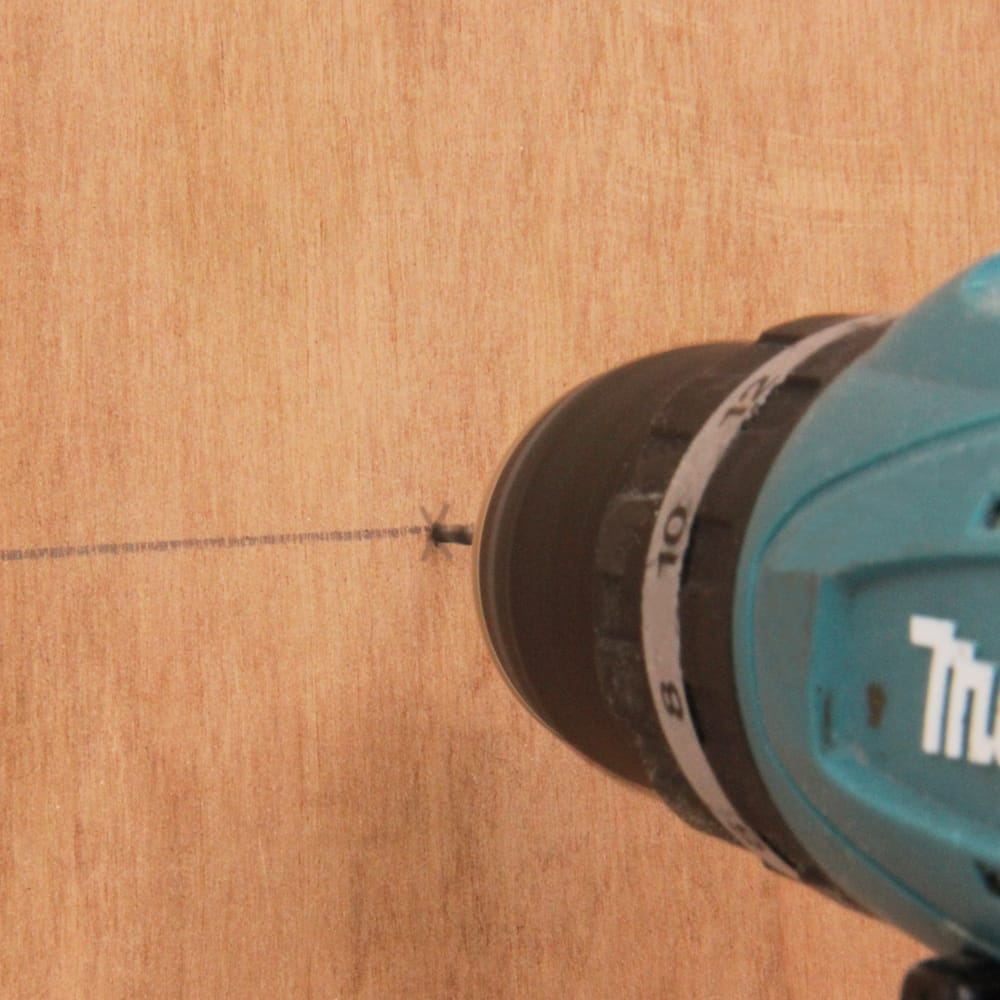
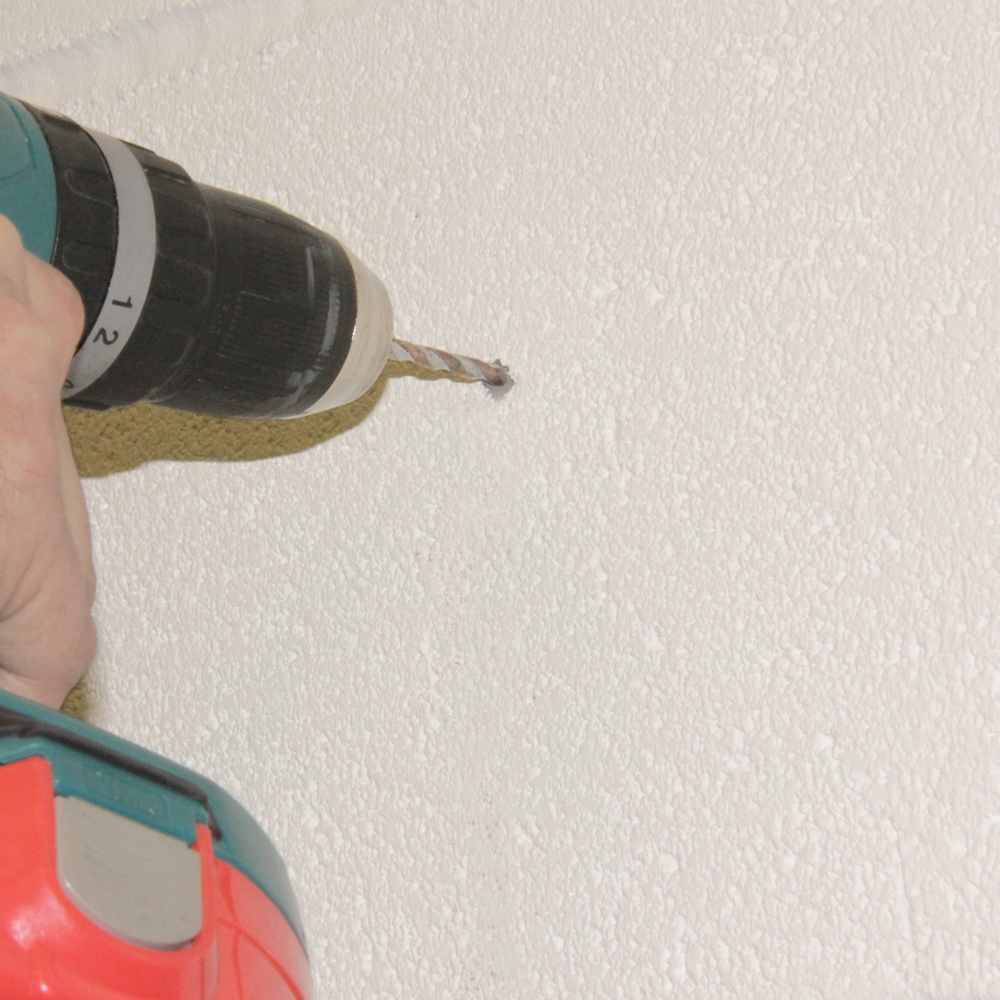
Step 2 – Drill the holes into markings on the wall
Drill the holes into the marked areas using a suitable drill bit for the screws you will be using.
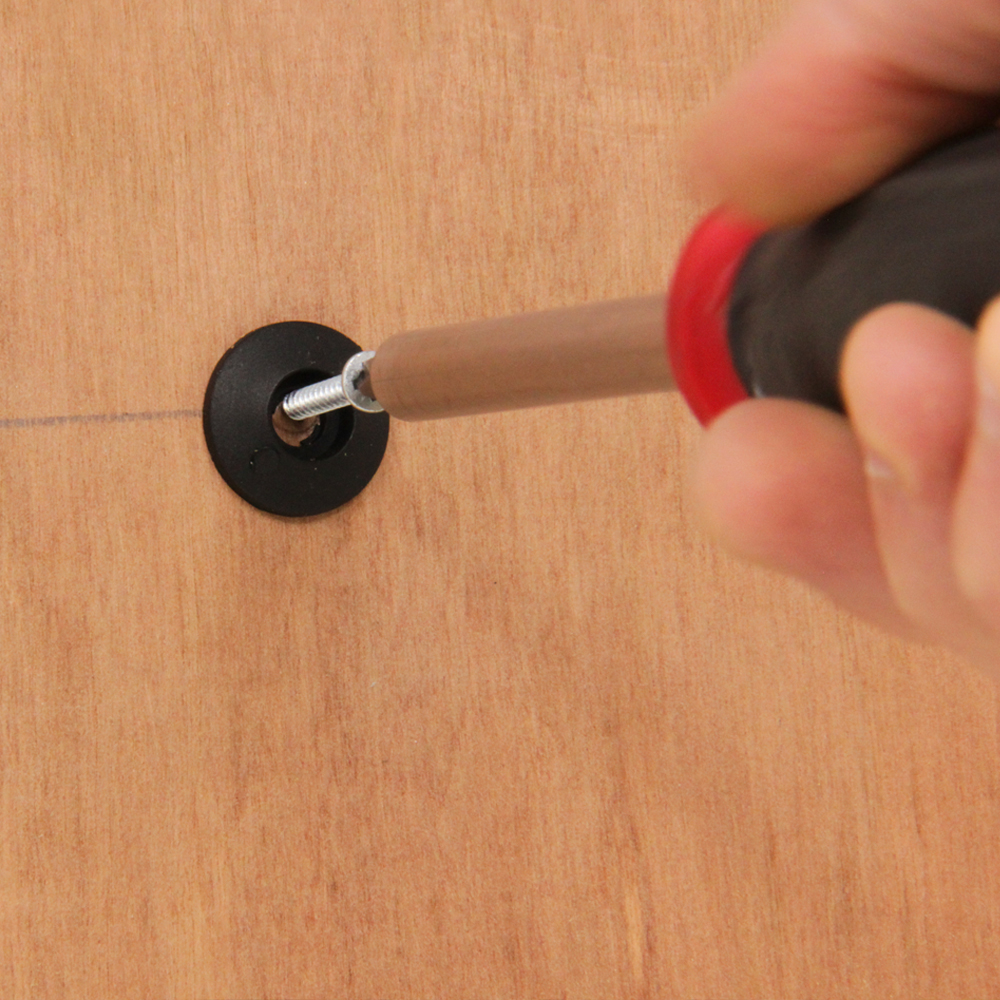
Step 3 – Screw in a fixture
Place the plastic rosette on the drilled hole and screw it into place.
Step 4 – Insert magnet
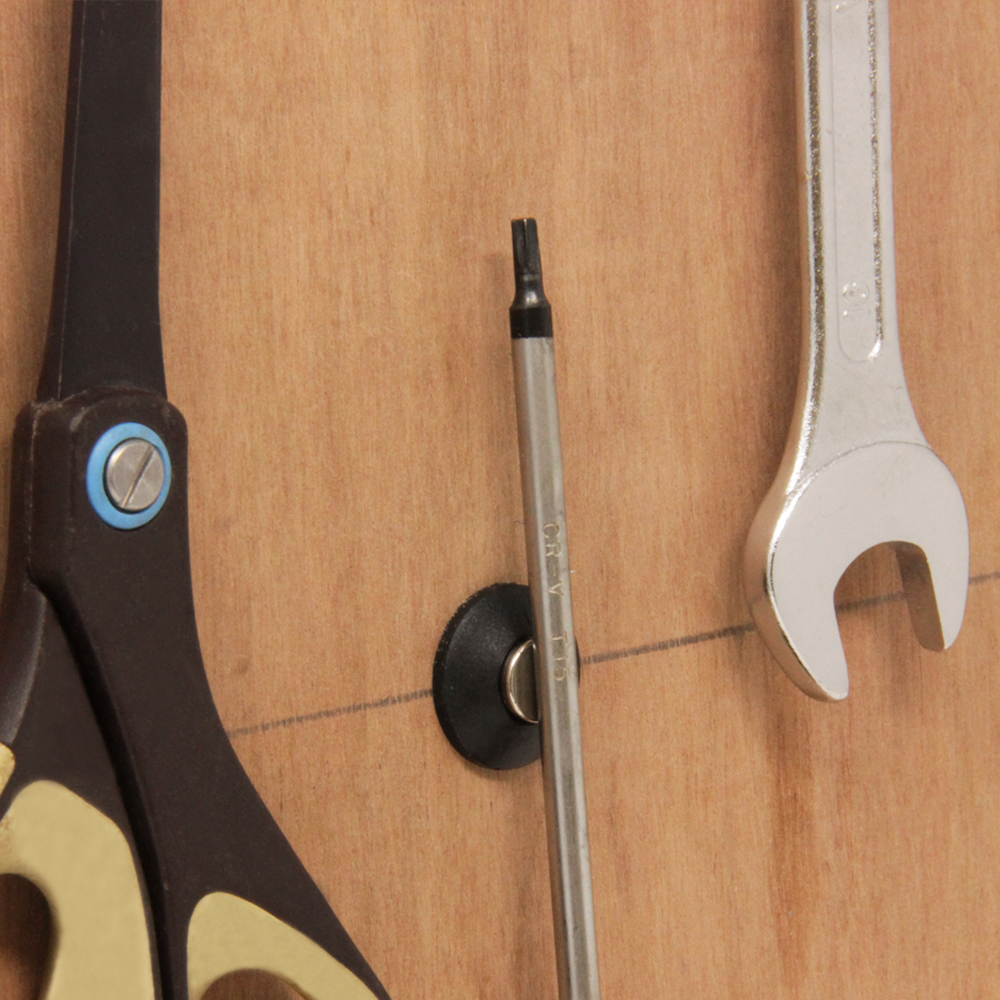
Once the rosette has been screwed into place, insert one of the magnets.
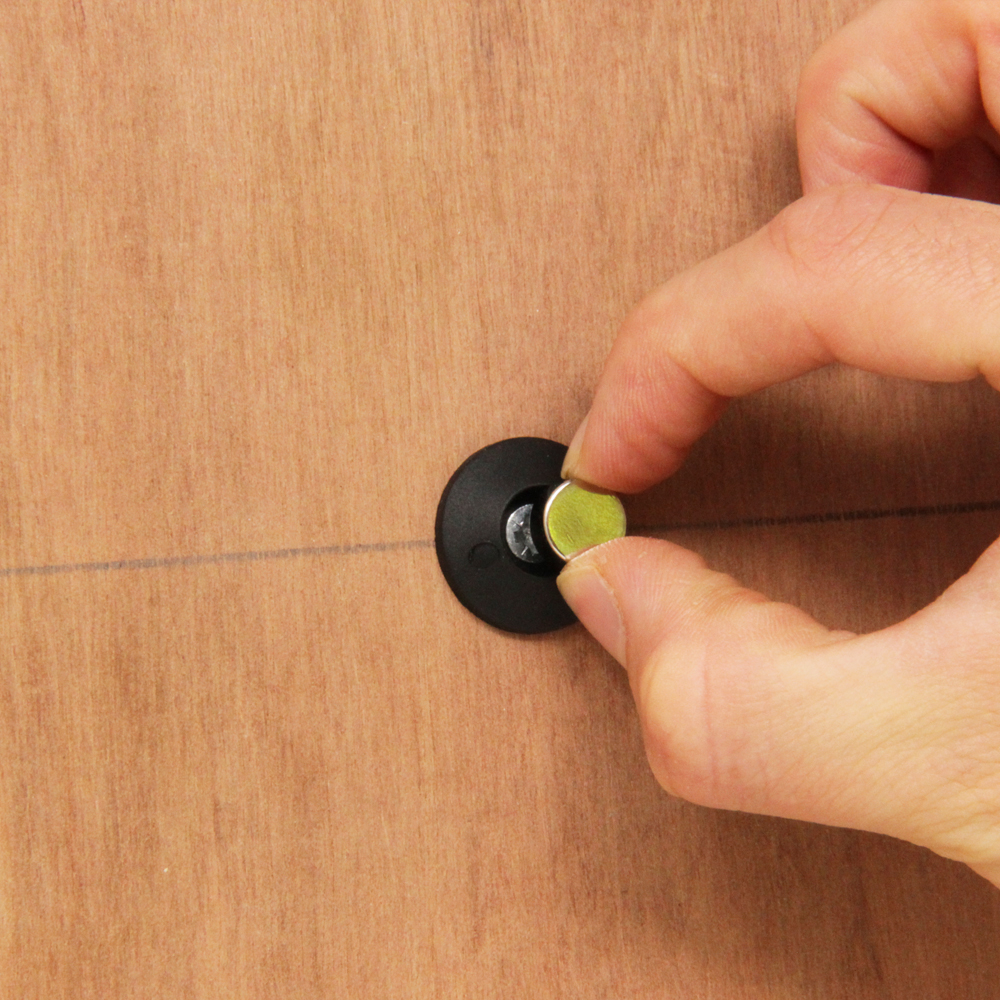
The magnet should now be securely in place.
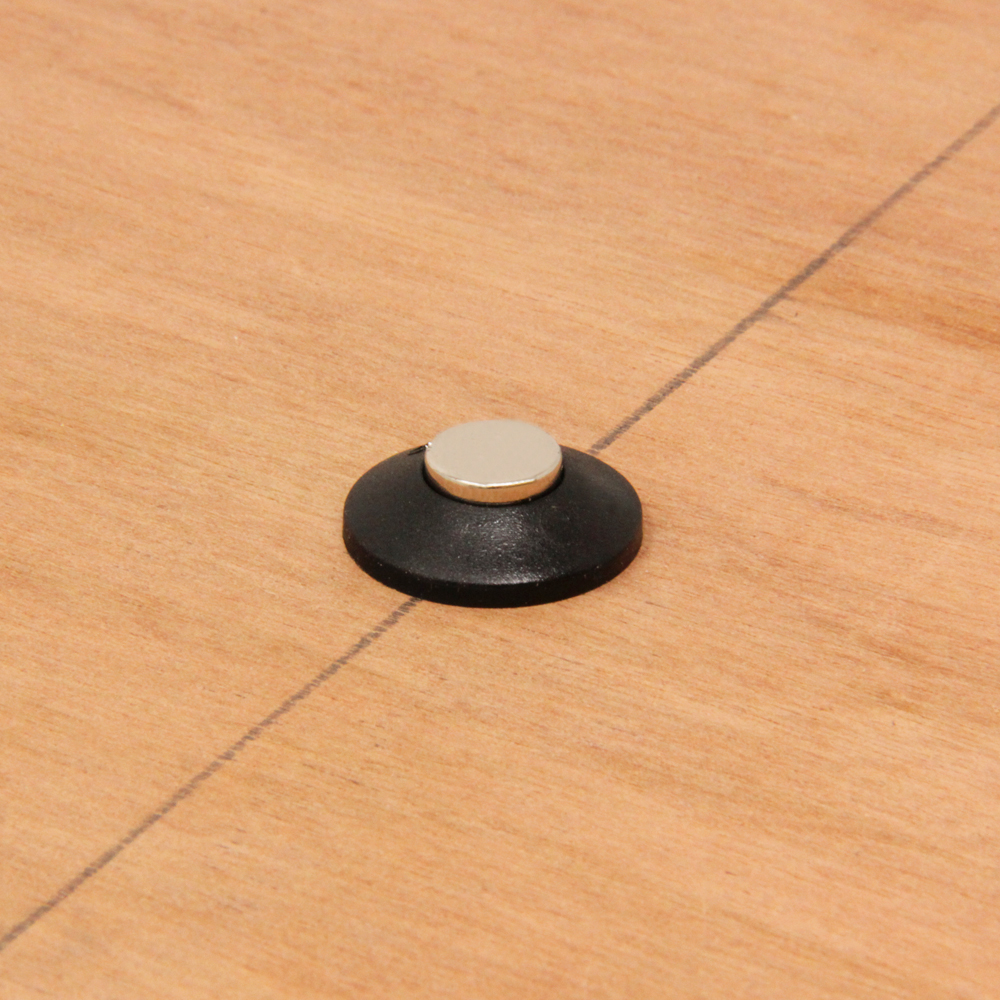
Repeat this for the remaining 4 magnetic wall pins and remove any drawn lines.
Alternatively, if you are drilling into brick, follow the below steps:
Step 2a – Drill hole
Drill a hole into the brick wall, larger than the size of the screw so that the wall plug will fit.
Step 3a – Insert plug
Insert the wall plug into the wall so that the plug is completely within the drilled hole.
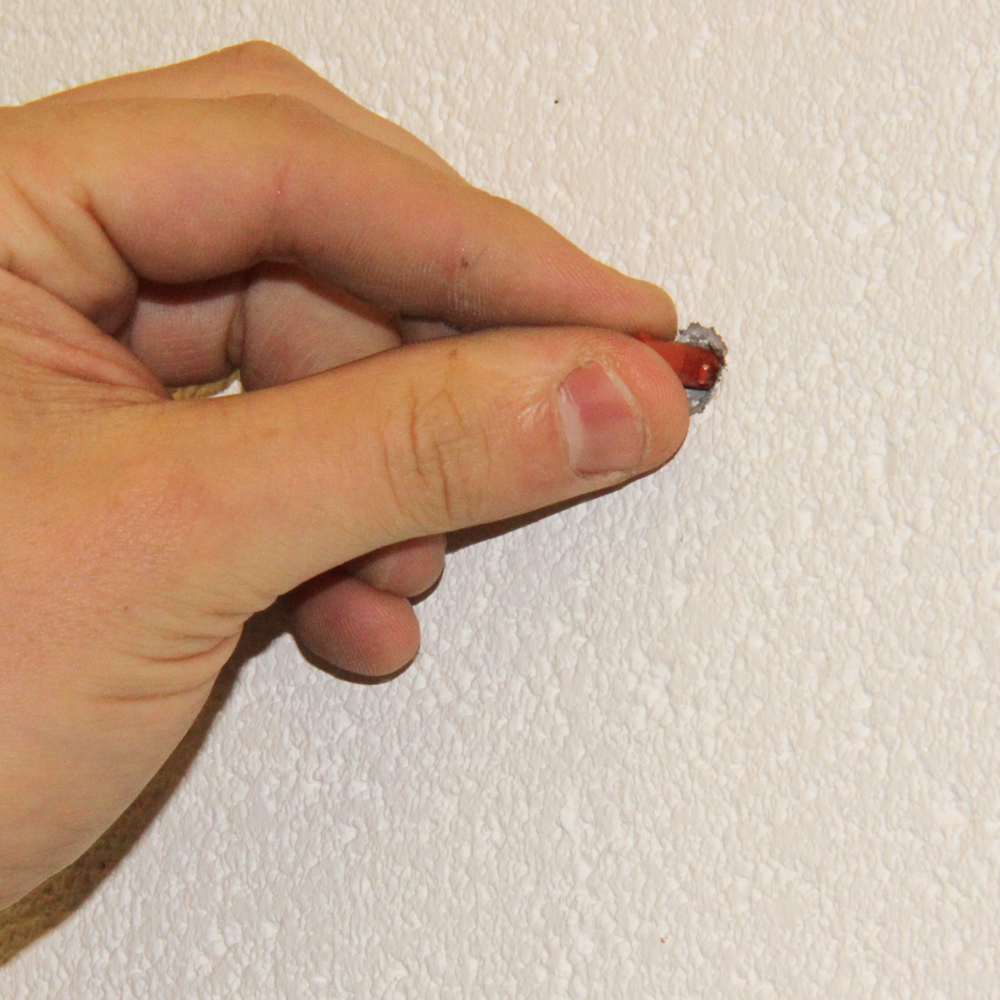
Repeat steps 3 and 4.
You can now hang your favourite tools as you now have the perfect storage solution!